This step-by-step guide to building a custom home will help you navigate the new-construction process.
If you’re buying a custom home, it helps to know what to expect over the next year or two. Your initial steps may vary a bit – your builder may already have a site and you only need to pick a home style. Or you may already own land and you’re planning to work with both an architect and a builder.
Either way, once you’ve decided on your home’s style and size, your builder will kick things into gear. Be sure to ask your builder about the specifics of their procedures, but here’s an overview of the construction process and what to expect during each phase.
1. PREP AND POUR
After your blueprints are finalized and you get the go-ahead from local building authorities, your lot will be prepared for building. It’s heavy equipment time, so expect backhoes, bulldozers and dump trucks. Workers will clear trees and other obstructions, level the lot and dig the holes and trenches.
Now it’s time for the home’s footings and foundation. What’s a footing? Essentially footings are the things beneath the foundation that keep everything from sinking into the ground. Most footings and foundations are poured cement reinforced with steel rods called re-bars. Footing forms are laid along the outline of your home and filled with concrete.
What the foundation looks like depends on whether the design includes a full basement or what’s called a “slab on grade.” In any case, the builder should spray waterproofing material on the foundation to keep ground water from seeping through. Once the local building inspector signs off, the wooden forms will be pulled off and the house starts to go up.
2. ROUGH FRAMING
Some people call it the skeleton, others refer to it as the shell. What it really means is that things finally start getting vertical. The walls, floors and roofs that define shape of your new home go up. Of course, there’s a reason it’s called “rough framing.” You’ll be looking at wood or sometimes steel studs, floor joists and roof trusses. It’s still hard for most people to really visualize the finished product at this point.
Once it’s inspected your builder will cover it with plywood or something called OSB (oriented strand board) then wrap it with to protect from moisture. Then your builder will install windows, roof shingles and exterior siding. From the outside, it will start to look like a house.
3. PLUMBING, ELECTRICAL AND HVAC
After the roof, windows and exterior walls are complete, the house is considered “dried in.” That means the interior should be protected from the weather enough for tradespeople to begin installing heating and cooling ducts, plumbing and finally electrical wiring. Each step will require an inspector to sign off. While local regulations may vary, you can expect a city or county inspector to sign off on just about anything that isn’t purely decorative.
4. INSULATION
Time to fill in those walls with insulation. Your builder may use fiberglass, cellulose or foam. The insulation could be sprayed in, blown in or rolled in on a blanket. The format doesn’t matter as much as the R-value, which indicates how well the insulation will work to protect your interior from temperature fluctuations. Much of the decision on what type of insulation to use will depend on budget and climate. Whatever material is used, it will need to go in all exterior walls as swell as basements, crawl spaces and attics. Your builder may also use insulation in interior walls to act as soundproofing.
5. DRYWALL
Things start to get real when the drywall goes up. The seams will be taped and “mudded” and any spray texture finish applied. Your builder will probably use nails to hang the drywall but if you’re willing to pay more, screws will be less likely to pop through. (Ever noticed small round bumps in a ceiling? Those are drywall nails that have “popped.”) After the drywall is up the walls will be primed with paint.
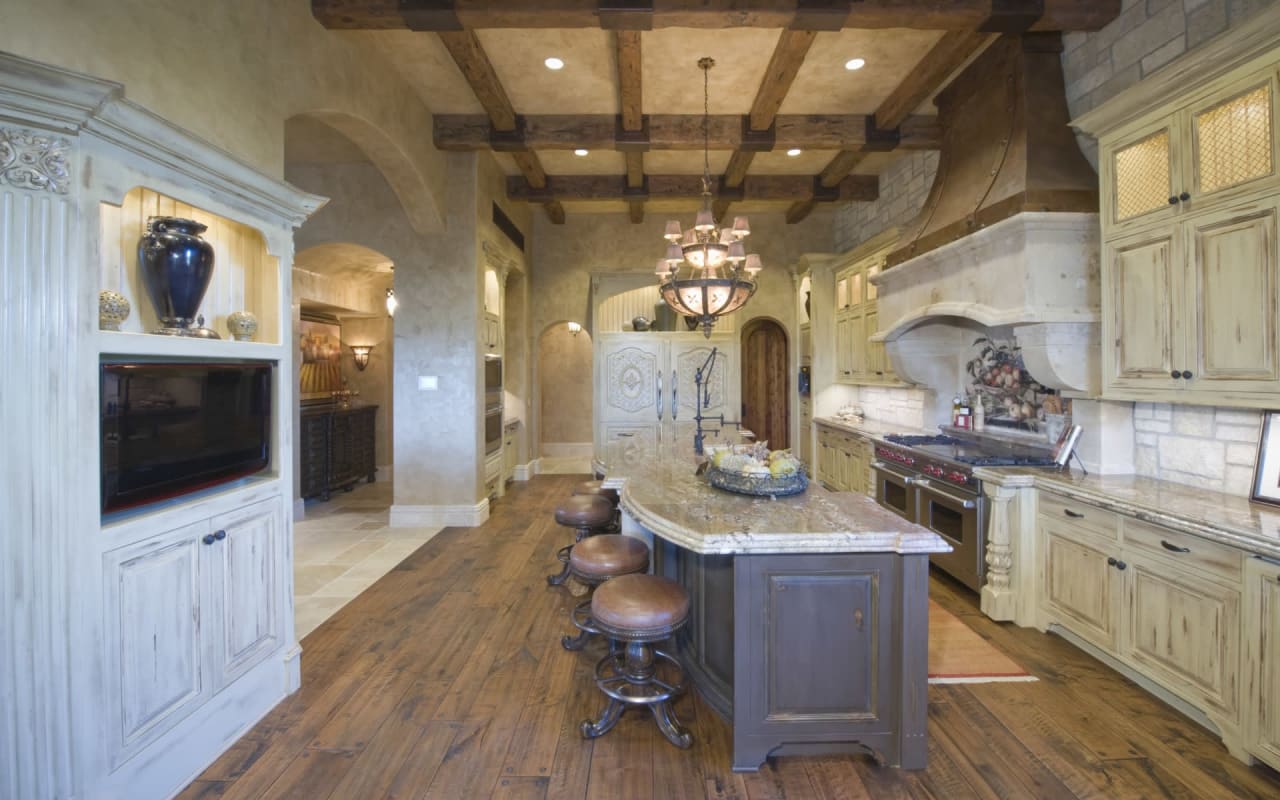
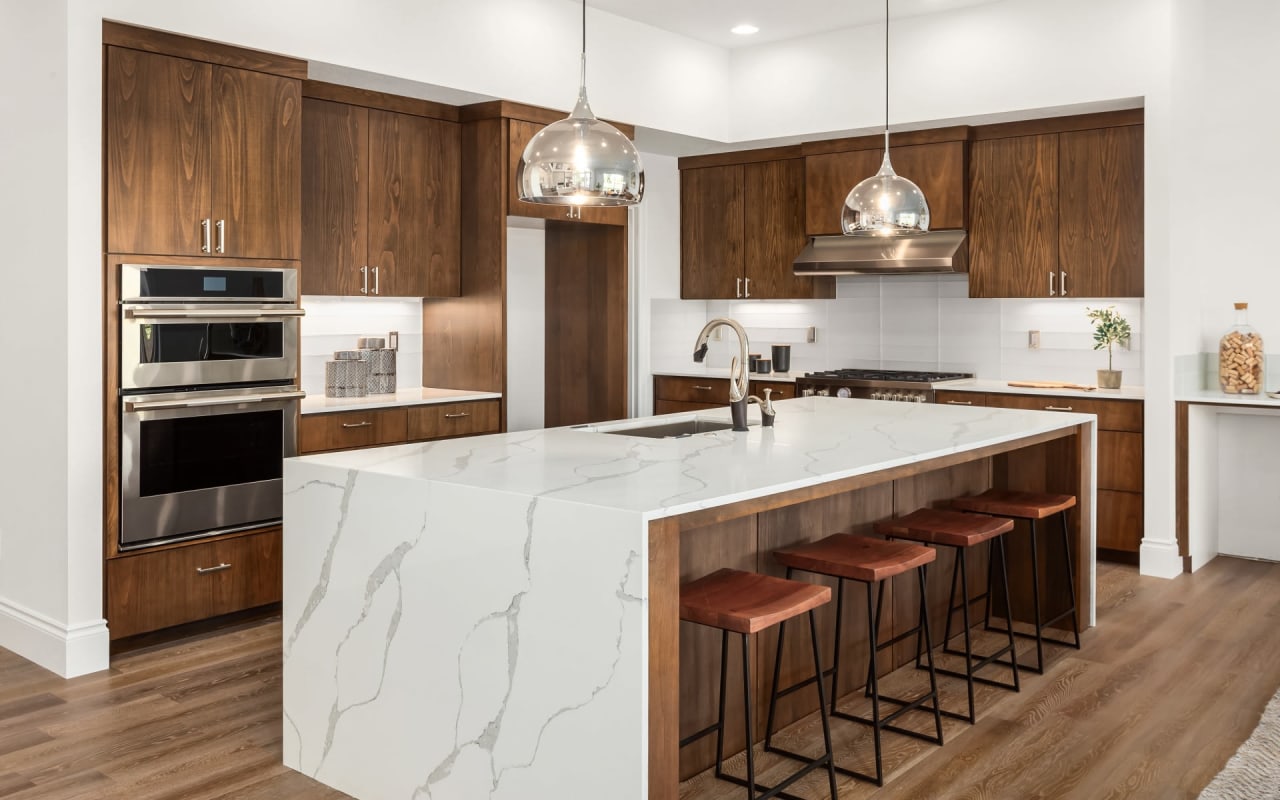
6. INTERIOR FINISHES AND TRIM
Interior trim – doors, baseboards, door casings, window sills and stair balusters – come next. The final coat of paint goes on the walls and everything from kitchen counters and cabinets to bathtubs and vanities will be installed. The builder will install any hard-surfaced final flooring like tile, vinyl and laminate. Hardwoods may need to wait unless they are prefinished.
7. EXTERIOR WORK
Meanwhile, the exterior gets some attention too. Driveways walkways and patios will be poured. Final grading to make sure water gets directed away from your home will be completed, along with final landscaping and any exterior finish work.
8. FINAL TRADES
Toilets, faucets, hot water heater, electrical panel, light switches and fixtures, outlets and heat register covers come in next, along with your HVAC system. Once again, a building inspector will likely need to sign off on each system. You’ll also see final touches like shower doors and mirrors go up at this stage.
9. FLOORING COMPLETED
Now that the heavy construction foot traffic is over, it’s time for crews to install carpeting and hardwoods. Be sure to check with the builder before popping in for an impromptu visit. You don’t want to inadvertently walk across your newly finished hardwood floors before they’ve had time to cure. (In truth, it’s probably best to check with the builder before any visit to the building site, for your own safety.)
10. FINAL INSPECTION AND WALKTHROUGH
In addition to checking up on the work each step of the way, expect a local building official to do a final inspection. Once this is completed, you’ll get a certificate of occupancy so you can move in! You can attend this or any of the inspections done during construction. Simply ask your builder when they are scheduled.
Even if you decide not to attend any inspections, the final walkthrough isn’t optional. You and the builder will go through the home in great detail. Check the countertops and floors for damage. The builder can create a “punch list” of items that need to be fixed before you will accept the home as finished and make a final payment.
Beyond just checking to make sure the walls are painted and there aren’t any broken light switch covers, the builder should explain how things like how the thermostat works as well as any maintenance requirements you’ll need to meet and any warranty protection you have.
CUSTOM HOMES AREN’T FOR EVERYONE
If new construction is your dream but this list reads like “10 Things I Hate About Home Building,” you may be happier buying a spec or tract home and skip the stress of building from scratch. Tract homes have a pre-set amount of floorplans, upgrades and finishes to choose from. This keeps your decisions to a minimum and the build time is much faster than with a custom home.